Showing posts with label silhouette. Show all posts

Tuesday, August 7, 2012

Vintage Inspired No Sew Ottoman {DIY Tutorial}

 HarryPotterOttoman23

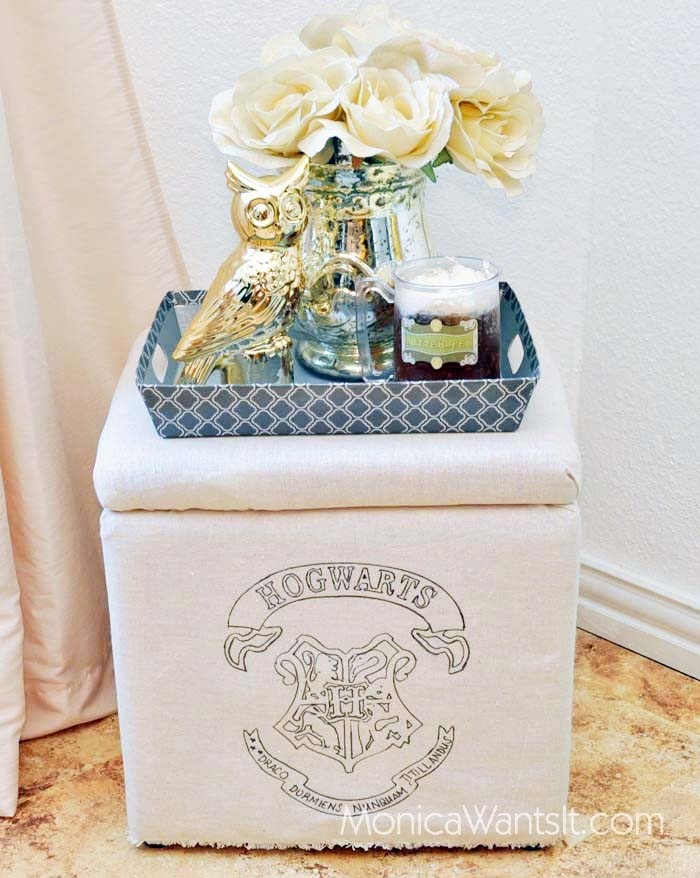
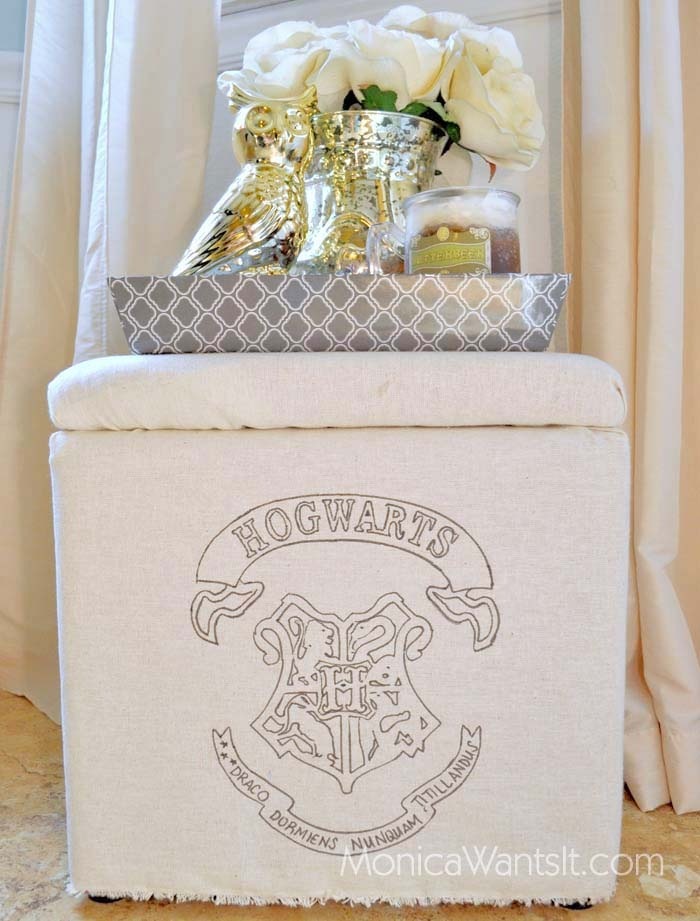
Yes. That is a Harry Potter ottoman. It wasn’t meant to be one at the beginning of this project, but things don’t always go as planned.

The inspiration for this whole project is this very expensive Ballard Designs ottoman.

Moulin Burlap Cube

At $269, I was never, ever going to buy it. Ever. Can you imagine Hermione paying for an overpriced ottoman? I think not.

But I did want something like it. It’s burlap, natural looking and vintage-esque in a way that I just wanted very badly. Wanting to be resourceful (ok, cheap), I shopped my own house to re-create it. I have this pink ottoman that I love, but wasn’t using in any room right now. Again, being cheap, I didn’t want to make it over in a way that was permanent, but I still needed it to stand up to normal use.

So, I figured out a way to semi-permanently re-upholster it, and I’m about to show you how you can do the same. Now, if you don’t have a storage ottoman laying around, right now is the perfect time to buy one at Walmart or Target because of their dorm lines. I’ve seen similar within the past 2 weeks for about $15-$20 at both retailers.

HarryPotterOttoman1

Assuming you have an ottoman on hand, let’s go through what you’ll need to do this project.

-2 yards of natural colored, duck/drop cloth material (I got my material at Walmart for $2.97/yd)

-Pins

-Staple gun and 1/4” staples

-Scissors

-Hem tape/stitch witchery

-Iron

The first thing I did was do a dry measure to figure out my length and width to cover the bottom portion of my ottoman. My dimensions ending up being 15x60, but I made my cuts at 18x64 so I would be able to staple/hem and be able to lose some inches.

HarryPotterOttoman2

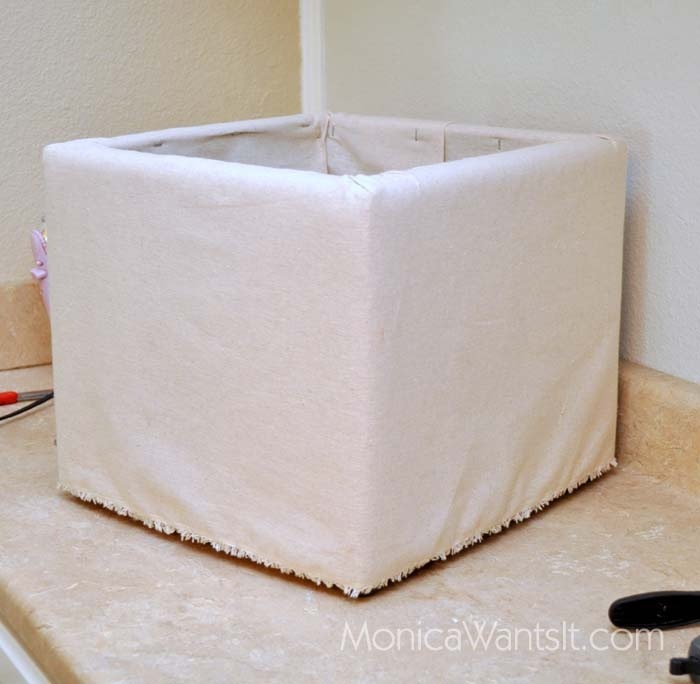
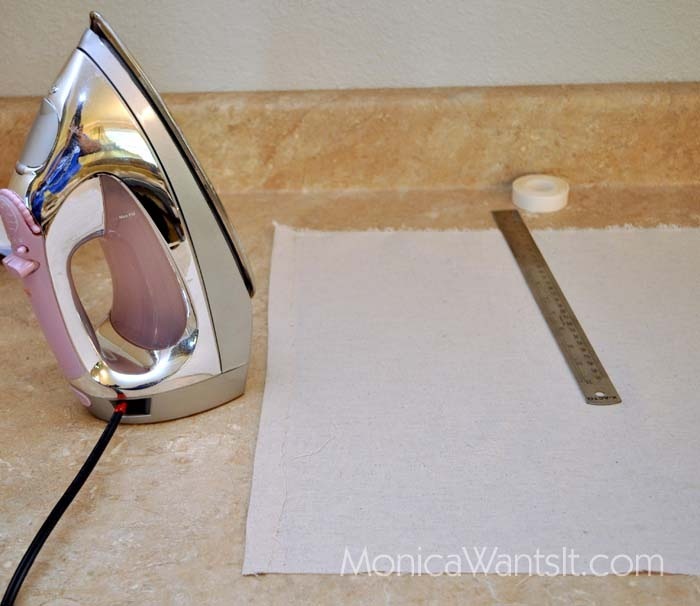
After I cut my fabric, I took one of the short ends and tried to iron a nice, straight seam using my hem tape, iron and a straight edge. It’s not 100% perfect, but remember, we want this to kinda look shabby chic.
HarryPotterOttoman3

Once you have that done, grab your pins and pin your hemmed edge in the center of the “back” of your ottoman.

HarryPotterOttoman4

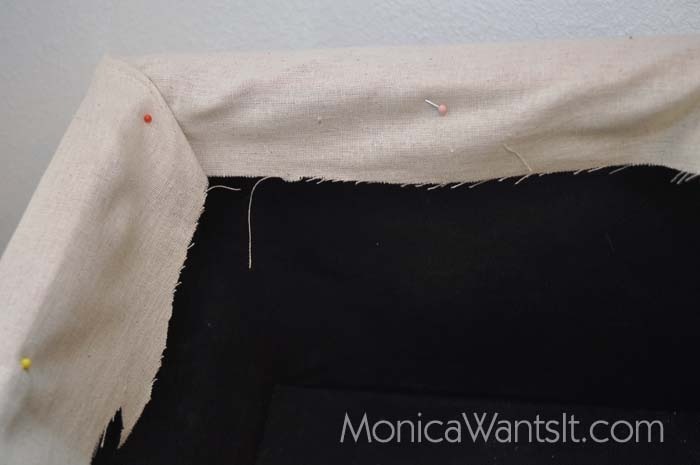
Slowly start making all your nice corner folds and pin them in place. I had a pin in each corner, and this may take awhile, but you want to make sure your corners are all the same. I wish I had an exact technique on how I did mine, but it was truly trial and error with the corners. I would advise you to approach it like you’re wrapping a gift.
HarryPotterOttoman5

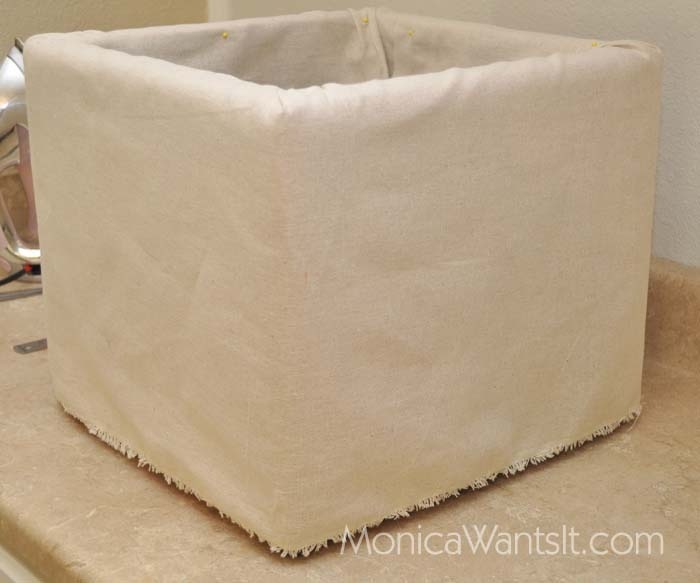
Once it’s all pinned, step back and make sure your corners are even and that your hems all line up all around. I wanted mine to have a skirted edge, but I had to make sure it wasn’t dragging on the ground.
HarryPotterOttoman7

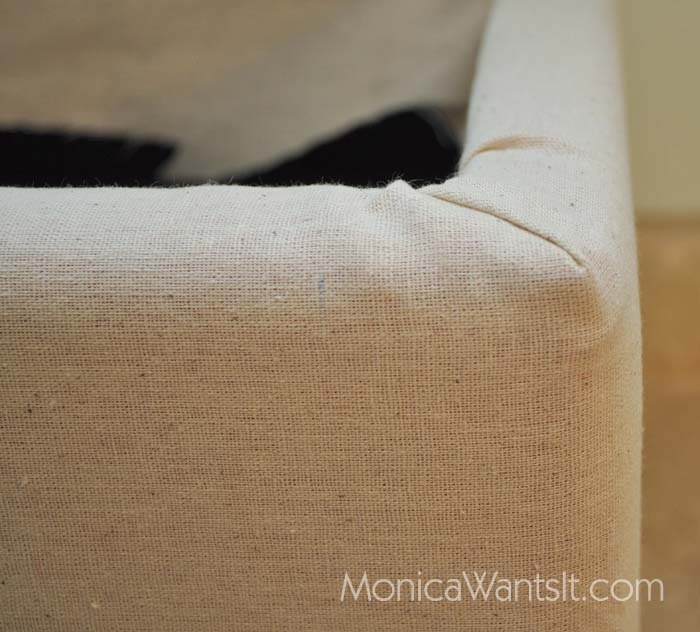
So once you are committed to those corners, use your staple gun loaded with 1/4” staples to staple a corner at a time. Remove the pins after you staple, but don’t staple on them directly. My method was staple a corner, move onto the inside leading to the next corner, make sure your material stays straight, etc. Do the corner/side with your hemmed edge last. Overall, I ended up with 12 staples. Now, should I want my ottoman to be pink again, I merely need to grab my flat head screwdriver, pop off the staples and I am back in business with no noticeable damage.
HarryPotterOttoman9

Again, the last side you do should be your back/hemmed edge side. So I tucked the unfinished edge under that section so once it’s stapled it looks polished/finished, and you can’t see that frayed edge anymore.

HarryPotterOttoman10

Ta-dah!

HarryPotterOttoman11

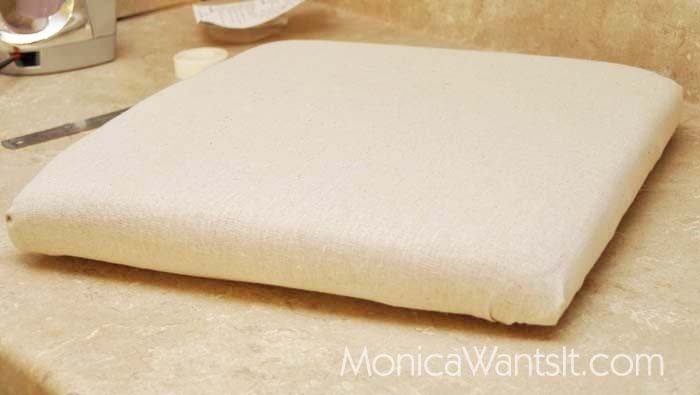
Now we upholster the top using the same strategy.

HarryPotterOttoman12

HarryPotterOttoman13

At this point if you don’t want to add a design, you’re done. You have a chic, shabby ottoman that will look great with nearly any type of décor.

If you want to continue on with me to add a design to it, here’s what you’ll need:

-Stencil (I made mine using my Silhouette SD)

-Sharpie Fabric Marker (Black)

-Tape

-Piece of 8.5x11 cardboard

I was perusing this website for a vintage typography design, but nothing was jumping out at me. Well, let me rephrase, nothing was jumping out at me that would be easy to stencil. When creating a stencil using a die cutter machine like the Silhouette, you can’t pick anything ridiculously intricate. Don’t torture yourself. I also thought about buying iron-on transfer paper for the printer, but those have such bad reviews and I really wanted that hand-stenciled look to it.

Then my hubby walks in while I am searching and searching for stencil inspiration when he says I should add the Hogwarts crest to it.

BINGO.

I found the image I wanted, imported it into my Silhouette SD and selected the area for tracing:

image

Now, when importing a JPG to use as a stencil, you want to fiddle with the High Pass and Low Pass Filters over on the right until you get a nice outline using the trace function. You don’t want it to be terribly detailed. Once I got my outlines set, I then went and deleted anything I knew would be a pain in the ass for the Silhouette to cut accurately and therefore would cause me headaches while trying to stencil. As you can see above, I deleted all the text from the bottom of the crest as well as some little holes in each of the animals/mascots of the houses. I wanted to keep the overall look and integrity of the image without stressing about the itty bitty details.

I grabbed my cardstock (normal, cheap cardstock) loaded it onto the thick medium mat, screwed on the blue cap, set the speed at 1, thickness 33. Another Silhouette SD tip: if your mat has lost its stickiness, grab a glue stick (I prefer the jumbo Elmer’s type), run it across the mat a few times and you’re back in business. I have used my Silhouette SD for almost 2 years straight without ever replacing the mats because of that tip.

So, send it to your Silhouette SD to cut. It will take a LONG time. While it was cutting, I completely did my hair and make-up to go out to dinner.

After it’s done, grab your stencil, tape it onto your ottoman wherever you’d like the design, grab your Sharpie paint marker and draw away. I did lots of short strokes. Now, I recommend you put a sheet of cardboard under your material while stenciling so the fabric marker doesn’t bleed through. I forgot this step, and it didn’t bleed through and stain the pink fabric, but you never know. The Sharpie fabric markers are so easy to use and very forgiving, but if you’re nervous, practice on a spare piece of material first.

I freehanded the text on the bottom, and it was super easy. Glad I didn’t fret over including that text in the stencil.

Once you’re done, step back and admire your handiwork. Overall this project should take no more than 2 hours if you do both the reupholstering and stenciling.

HarryPotterOttoman21

I had started this project with the intention of using it as a vanity seat in the guest bathroom, but now I want to keep it in the living room to show it off!
HarryPotterOttoman15 copy

HarryPotterOttoman20

And I bet some of you have noticed this little fella on the tray:

HarryPotterOttoman22

Well. That is my very low calorie butterbeer, and I am going to share that recipe with you in my next post.

Until then, what do you think of my Harry Potter ottoman? Does it have you thinking I waved my wand to create it?

HarryPotterOttoman18

Oh Pee Wee. Ever the sniffer of all things edible.

And let’s hope this project doesn’t get me sued.

Monday, November 28, 2011

Elmer’s #Looks4Less Burlap Monogrammed Memo Board {DIY Tutorial}

I have a bit of an obsession with catalogs like Restoration Hardware, Pottery Barn and Ballard Designs. I subscribe to them all, yet never buy anything because it’s simply too expensive or sometimes I feel I can make the look for less with a bit of creativity and Elmer’s products.

As you all know, I’ve worked a lot on my breakfast nook, but I needed something on the walls to give it that personal touch and functionality as a message/mail center. It just looked kind of bare. Boo. The nook is an area we frequent many times a day: we sort mail, put down our bags/keys, etc. Therefore, I really wanted a chic, unique message board to keep us organized and on top of things. We are a forgetful couple. Ok, maybe me more than him…

Recently, I got a Ballard Designs catalog in the mail, and I was smitten with a product in their catalog:

image

Burlap Memo Board, $69 each via Ballard Designs (image credit: Ballard Designs)

But $69 a piece was not going to fly in this thrifty household. That’d be $138 plus shipping…so almost $150.

<insert me fainting>

Then I thought to myself…Elmer’s has challenged me to create something I’ve seen in a catalog using Elmer’s products. They sent me some awesome stuff:

Looks4Less06  Looks4Less07

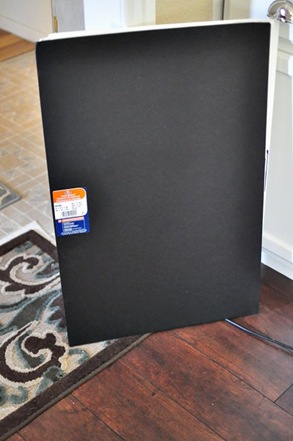
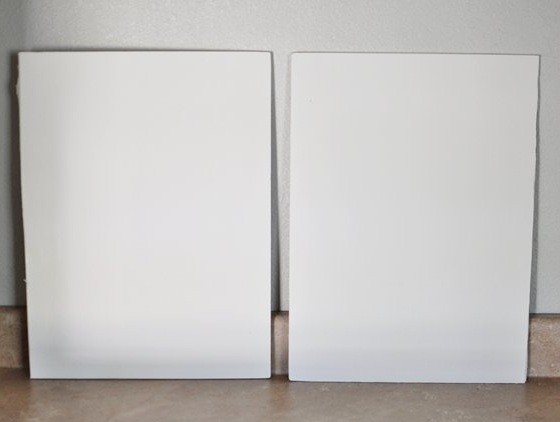
My craft pack included 3 foam boards (1 black + 2 white), 3 glue sticks, 3 packs of Painters pens and an X-Acto crafting knife. On top of all that, they sent a $25 Visa gift card to help me buy any extra accessories I needed to complete my looks for less task**. With all this crafty goodness, how could I not bring my memo board dreams into my breakfast nook?

Now, let’s get crafty! Below is a list of supplies to create your own burlap memo board (note, I made 2, so if you want to make a pair, you’d need 1 extra foam board):

**Note: Thanks to Elmer’s, I only had to spend $5.94 for the burlap (I bought 2 yards in case I messed up, but only used one), $2.97 X-Acto Metal Ruler, $2.00 X-Acto #11 Blades (in case mine broke, which it didn’t)= $11.81 total.

Step 1:  Cut your foam board in half using your X-Acto knife. The board is 20x30, so you should end up with 2, 20x15 inch boards. Using spray adhesive, spray one board and place the other board on top of it to glue them together. If they’re not perfectly flush, don’t fret, just trim any excess hangover using your X-Acto knife. As you can see, I am using a box to cut my boards on so I don’t scratch my counters. Also, use a metal ruler to help guide your X-Acto knife for a cleaner, straighter cut.

Looks4Less3

Looks4Less4 

I did this twice (to 2 different boards) since I made 2 memo boards. Why did I double up my board this way? Simple! I didn’t want the push pins to go through to the wall when pinning stuff to my memo board, so by doubling up my board I got rid of that issue.

Looks4Less5

Step 2: Cut your burlap in half and fold in half. You want to do this so that the white of the foam board is totally covered by the burlap, so make sure to double up your burlap as seen below.

Looks4Less6

Step 3: Using your extra-strength glue stick, glue one edge of the burlap onto the board.

Looks4Less7

Looks4Less8

This helps get your burlap in place so you can make sure it’s taut around all the corners. I only used the glue stick for one edge, and then I reinforced it with my staple gun. Basically your fabric will move and shift as you work with it, so the glue stick helps keep it in place while you make sure your fabric is just the way you want it; no need to go staple/glue gun crazy and then take it all out if you end up with crooked fabric.

I finished wrapping, glueing and stapling the burlap to my 2 boards, and this is how they should look at this point.

Looks4Less11

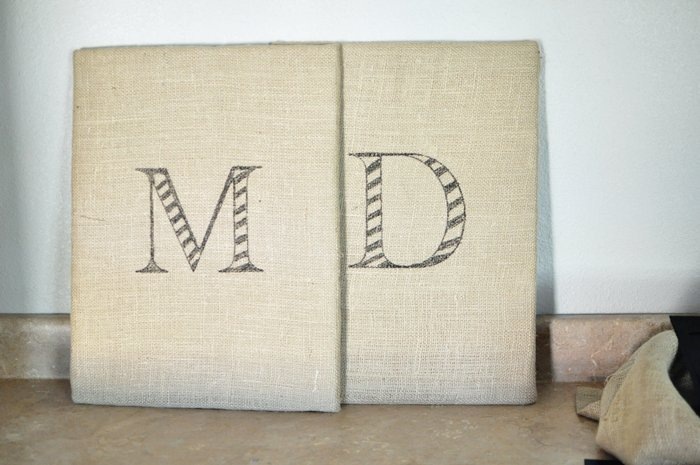
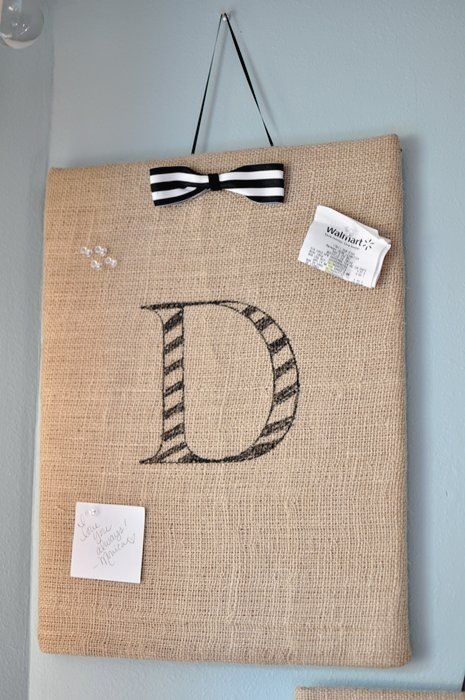
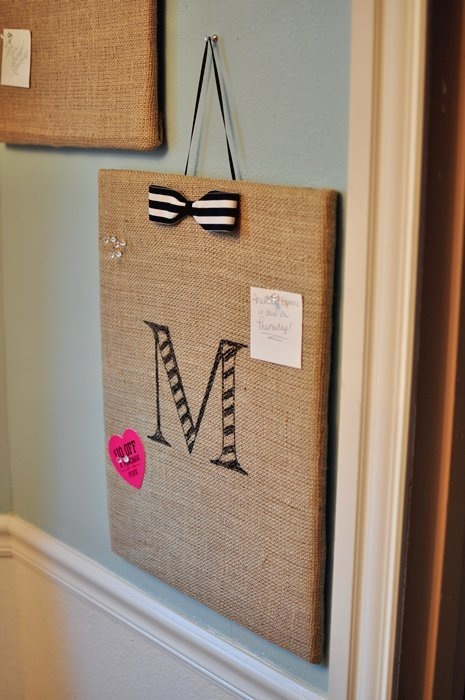
Step 4: Using my Silhouette SD, I cut out a stencil for our monograms. Mine is the M, Daniel’s is the D. Using my black Painters Pen, I traced the letter onto the burlap.

Looks4Less13

Looks4Less14

Looks4Less15

Then I embellished them a bit with some simple diagonal stripes to add some interest.

Looks4Less16

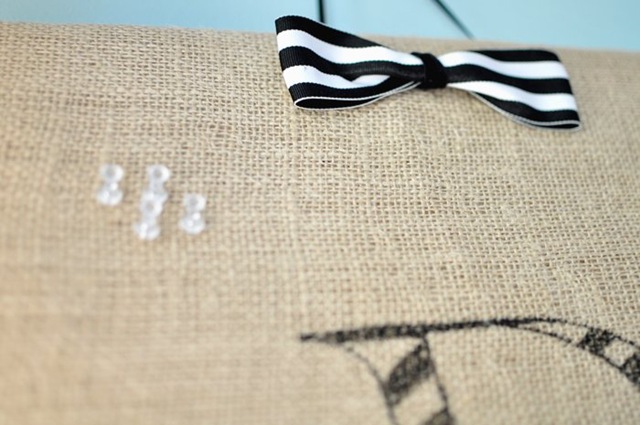
Step 5: I create a simple bow using 1-foot of ribbon + floral wire and adhered it to the board using some hot glue. I also attached a 10-inch black ribbon on the back to serve as a hanger.

Looks4Less19

Looks4Less25

Step 6: Place onto wall, adorn with some push pins and admire your handiwork!

Looks4Less21

Looks4Less17

Looks4Less18

Looks4Less22

Looks4Less23

Cost Breakdown (approximate cost at Walmart, you likely already have some of these on hand):

  • Foam Board: $2.50 each
  • Burlap: $2.97/yard
  • X-Acto: $5
  • Paint Pens: $5 for a 5-pack
  • Glue Stick: $2 each
  • X-Acto Metal Ruler: $2.97
  • Other misc craft supplies: Had on hand (FREE!)
  • Total cost: About $20 for one or $23 for two burlap memo boards!
  • That’s a savings of $52 for one board (or about 70% off) or $115 savings on 2 boards (or about 83% off- WOW!!)

Looks4Less27

Well, what do you think? Did I do a good job creating the #looks4less? Next time you’re bummed that you can’t afford something out of a catalog, think about how you can recreate it yourself using craft supplies and some imagination. The project took me about 1.5 hours total, and you can view my shopping experience over on Google+. Can’t think of anything to make? Elmer’s has created a wonderful how-to guide that is sure to inspire anyone to create something beautiful.

And, Elmer’s is being uber generous and providing 2 gift packs to one of my lovely readers so you can create my project (or any other project you’d like). How great is that?!

The prize pack included:

• Black 20x30 Foam Board
• White 20x30 Foam Board
• CraftBond All-Purpose Glue Stick
• CraftBond Repositionable Glue Stick
• CraftBond Extra-Strength Glue Stick
• X-ACTO Designer Series Gripster Knife
• Painters Assorted Colors Set

Drawing is open until December 8th at noon CST.

To enter leave me a comment with what you’d make using the gift pack (and a way to contact you if you win- Twitter handle, e-mail, something…please!). Giveaway is only open to blog subscribers, so make sure you follow my blog over there on the right handside. Smile

Good luck!!

I’ll be back tomorrow with another Ballard Designs knock-off for the holidays. You won’t want to miss it!

Looks4Less02

This project has been compensated as part of a social shopper insights study for Elmer's #gluenglitter #collectivebias #CBias All opinions, photos and ideas are my own, as always.

Thursday, November 10, 2011

West Elm Tree Hurricane {The Look for Less}

Today I am going to show you how to create a West Elm inspired Tree Hurricane that is absolutely perfect for Fall/Winter décor. And it’s cheap! Woo! *throws glitter*

Here’s my inspiration:

image

via West Elm, $24-$29 each, plus candle.

Materials Needed:

-Contact paper (8.5x11 piece)

-1 Glass vase (Preferably 8” tall)

-1 Small pillar candle (optional)

-Silhouette SD or Scissors/X-ACTO Knife*

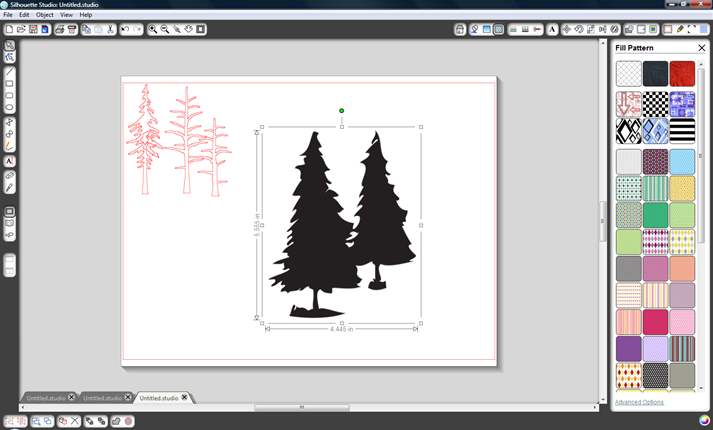
So, I got to work looking in the Silhouette SD online store & Google images to find some trees I liked. I found 2 in their online store, plus one on Google images. If you find an image on Google images and want to use it (within legal rights/copyright, etc.) you can import it to your library, then add it to your workspace (as seen below).

image

Then you select trace, uncheck the “High Pass Filter” box…

image

Check the “Low Pass Filter” box so that it fills up the image yellow, as seen below.

image

Then click on “Trace Outer Edge” and bam, you’re done. Resize as big/small as you want.

image

Ok, so I decided I wanted my tree hurricane to only have skinny trees like the ones in the upper left hand corner. I then cut a sheet of contact paper to 8.5x11 inches and loaded it into my Silhouette SD. I use the cut settings for Silhouette Vinyl, and had my Silhouette cut me my pretty trees. The contact paper sometimes has trouble sticking onto the mat and STAYING in place—to combat this I tape down the corners with a bit of Scotch tape so it lays flat. Works like a charm!

While my Silhouette is cutting, I grab my $1 store vase, pop the old candle out, and wipe it down with some Windex.

TreeHurricane01

Once my trees are cut, I peel them out of the contact paper:

TreeHurricane02

TreeHurricane03

TreeHurricane04

And then I peel off the back to reveal the adhesive, and I placed it onto my $1 store vase. Once they’re all stuck on there, I grabbed a white sheet of printer paper and rolled it around the vase. Then I grabbed a gift card and ran it up and down the trees to get any air bubbles out and rolled around the vase a bit (GENTLY!) on my counter. I used the paper to avoid tons of fingerprints and to hopefully avoid tearing my trees using the gift card.

TreeHurricane05

TreeHurricane06

And you’re done!

TreeHurricane08

*Now, I know some of you might be thinking, “What if I don’t have a Silhouette SD, Monica?” I feel ya! I would say you could probably achieve the same effect using scissors and cutting out trees/limbs or an X-ACTO knife, if you’re good with that sorta thing. Remember, you want your trees to be kinda wispy and imperfect, so anything goes! Just have at it, or download some images and trace/cut. You don’t need a craft cutter to do this, but I do LOVE my Silhouette SD. LOVE!

Also, I used contact paper instead of etching the glass because it’s quicker, easier and non-permanent. Just peel off the trees at the end of fall/winter and you have a blank vase again. Also, you can’t beat the frosted glass look that contact paper gives. Such a versatile, cheap product.

TreeHurricane11

TreeHurricane10

Pop in a small pillar candle (also from the $1 store) and you have yourself a gorgeous hurricane/candle holder.

TreeHurricane14

TreeHurricane12

I love the way this looks on our new breakfast nook table. Easy, simple and VERY cheap. If you’re wondering how to make that fabulous silver pumpkin in the photos, you can read all about it over here.

West Elm Price: $24 + $4 for the candle= $30

Monica’s Look for Less: $1 (I had the contact paper & candle on hand, but if not a HUGE roll is about $4 at Walmart).

Savings= About $29

I’ll be back tomorrow with a breakfast nook mini-reveal and a tasty recipe for Nutella hot chocolate. You won’t want to miss it.

BreakfastNook24

Visit thecsiproject.com