Office & Dining Room Reveal {DIY Home Makeover}
Finally.
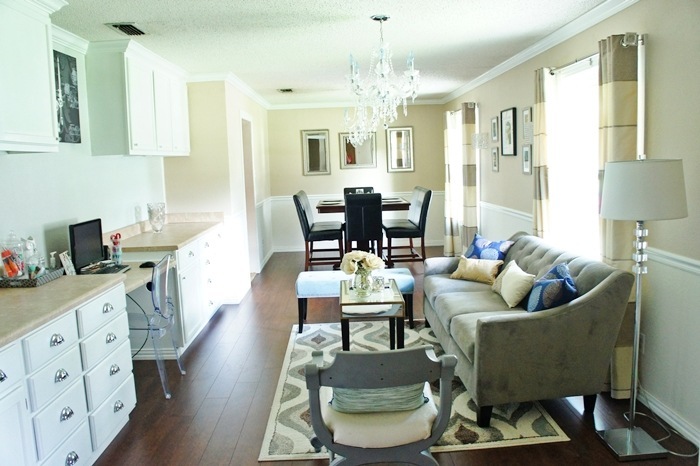
This office & dining room is about as done as it can possibly get. Sure, I could stuff more accessories into it, and I could put more stuff on the walls.
BUT, for now, it’s reached the point where it is done.
Let’s take a look down memory lane and start back at February 2011 when my husband and I first started working on this beast of a room. The dimensions are roughly 15x30, and it’s kind of divided into 2 rooms/areas.
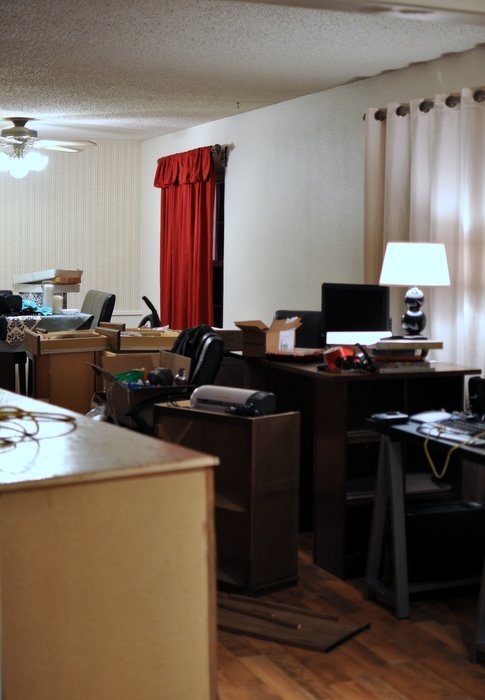
This is what it looked like with the previous owners stuff still in here.

Then we moved in October 2010, and I basically just put my crap in the cabinets and lived with that dark, dark, DARK hot mess until February 2011.

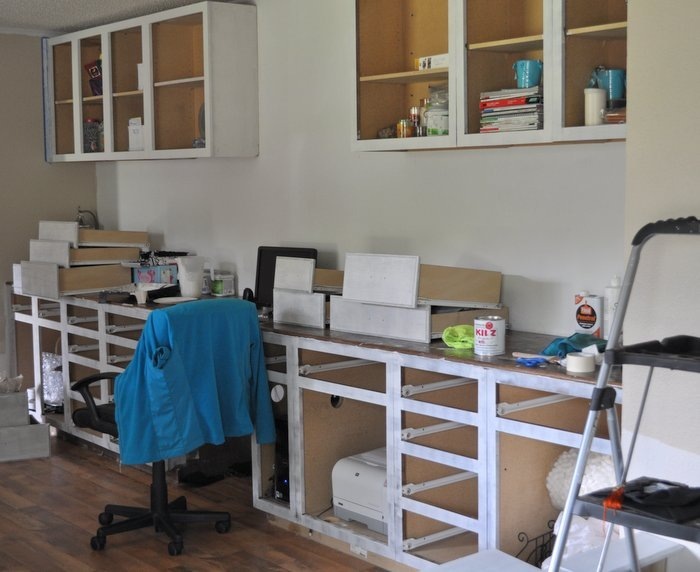
We took down the cabinets, and removed the wood paneling.


Lived in total chaos for a bit.
Drilled holes in all the cabinets for shiny chrome hardware using this template.

Tried this terrible kit, stripped all that paint off and just painted them the old fashioned way.



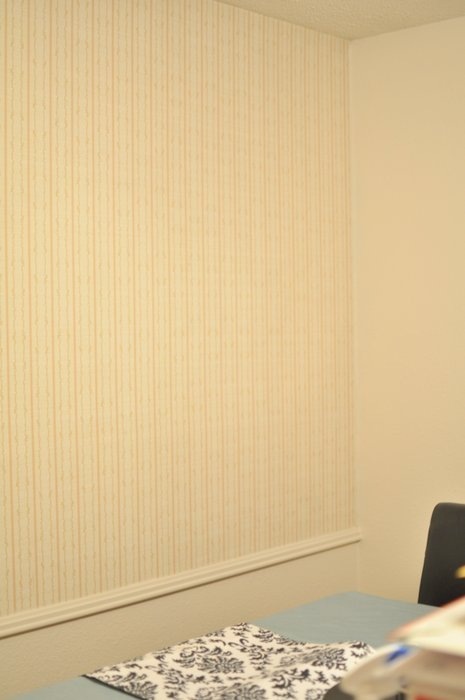
Then we stripped off the accent wallpaper. WHY??? Why do people use ugly wallpaper?
Painted the walls. As you can see, we planned on installing crown and chair rail, which explains the haphazard paint job.

I went nuts and painted the accent wall urbane bronze. Hated it. Changed it.

Changed the paint color from urbanze bronze to morning fog, and we installed new countertops we bought on clearance.

Installed crown and chair rail.
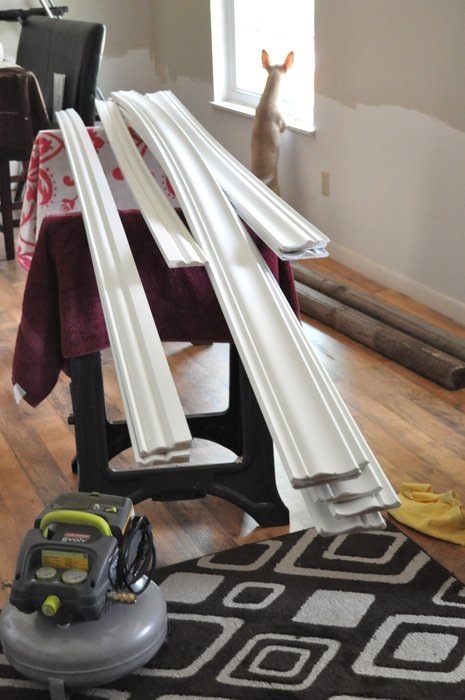
Plus, we got rid of the fugly floors and installed wide plank, hand scraped, dark cherry laminate flooring.

Got rid of ugly fixtures.

AND WE ARE DONE!!
It took us 16 months, about $3000 in materials (flooring, countertops, chandeliers, moulding, compound miter saw, jigsaw, nail gun, paint, accessories, hardware, sofa, curtains, etc.)
I’ll do a source list at the end of the post, but for now enjoy LOTS of pictures.
Won’t you come into my fabulous office and dining room?




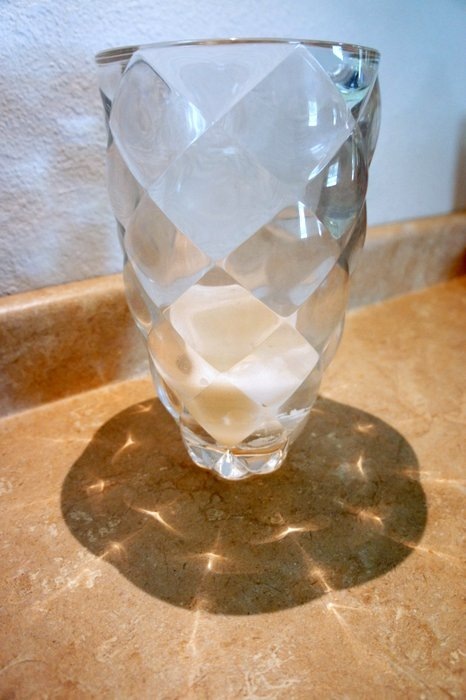
I put these vases here because the under cabinet lighting is on top of each vase, so when it’s dark, the vase bounces off all these pretty designs on the walls/counters.


For the story about this chair, check out this post.

Pee Wee has a corner all to himself in here. :)

That map is a $4 thrift store find, and the Paris print is from Walmart and was $9.88.
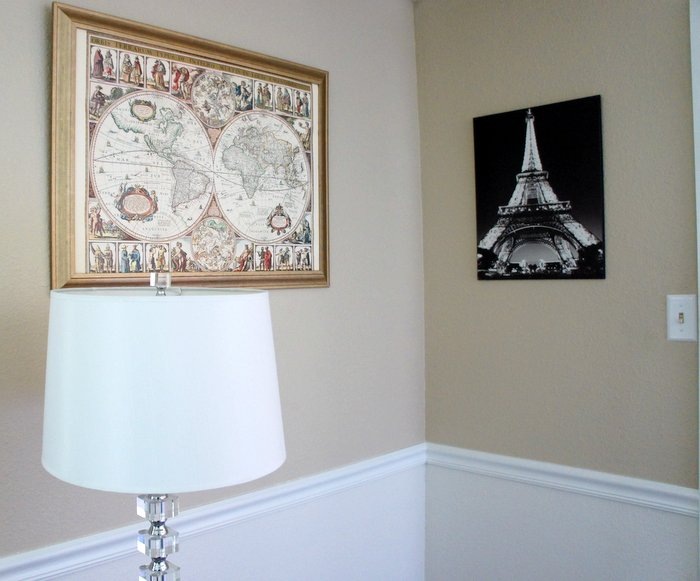



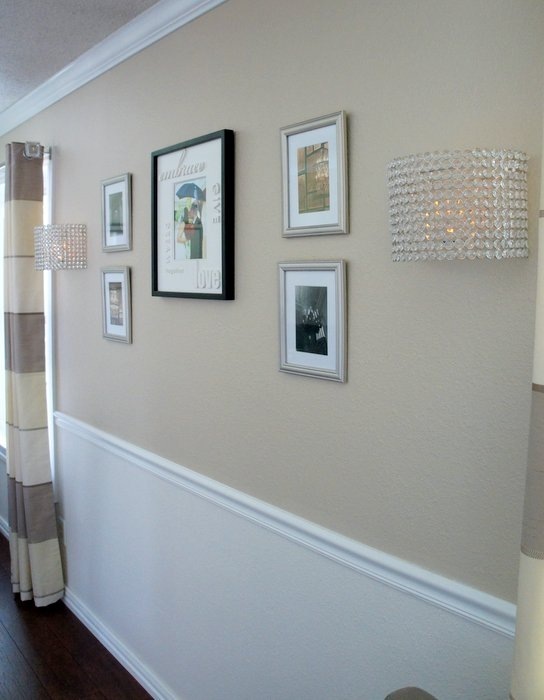
I framed Restoration Hardware ads in $1 store frames for my “art”. That’s as close as it’s gonna get for me to have that very expensive chandelier in my home.

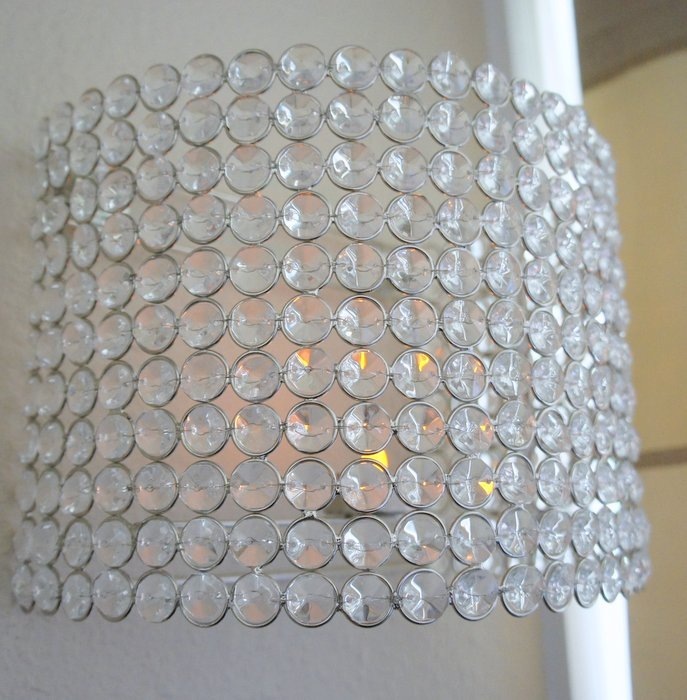
A LED tealight is used in both sconces. Ya know, to prevent a house fire.


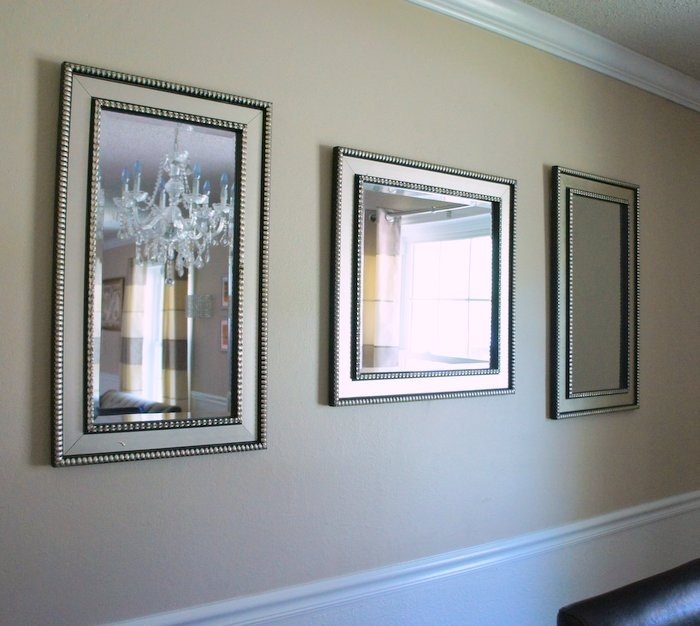

Behind the chandelier print is a AV box thingy, which means eventually there will be a TV there. :-D
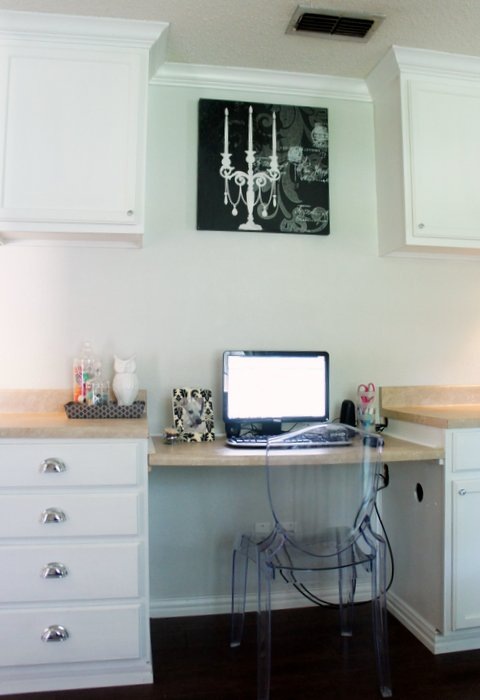
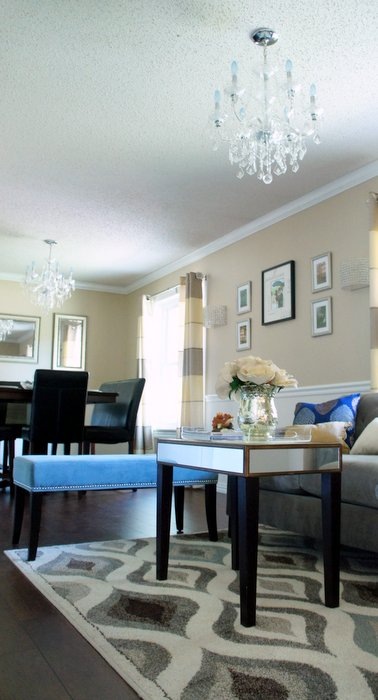
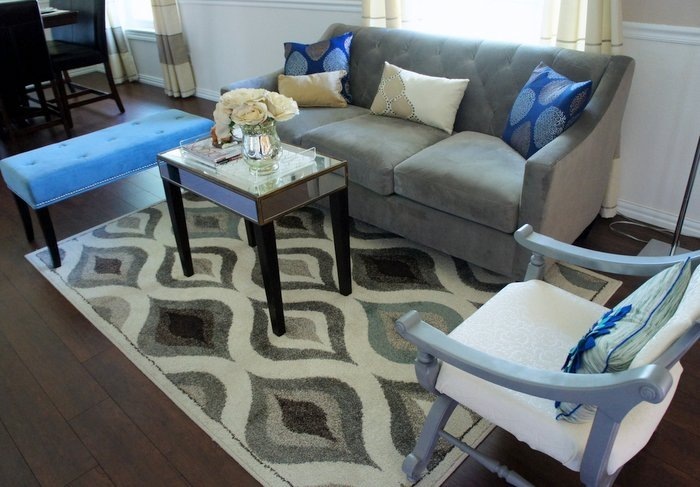
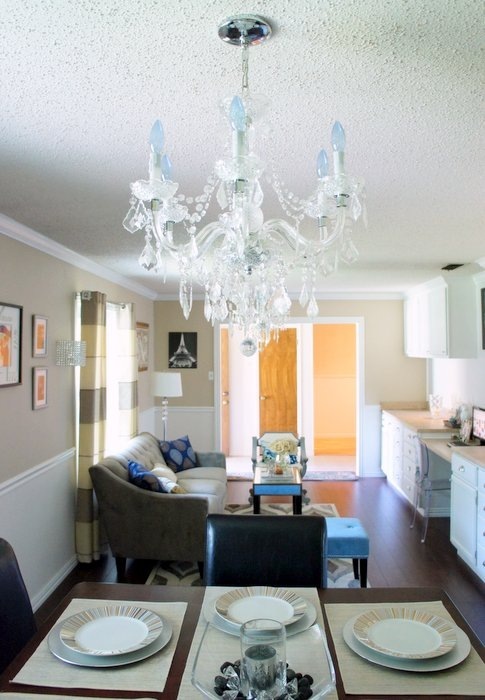
My overall goal was to have a neutral, metallic glam, relaxing kind of room. Sort of like if ZGallerie and Pottery Barn were to have a one night stand and have a baby… I did incorporate pops of blue, but should I take those out and do pops of pink or teal, it’d all work. I feel I’ve created a lovely, neutral room that I can change at any whim with colorful accessories and it’d still look wonderful.
Plus it has to function as a dining room and office, and it does both beautifully. I love that the sofa area provides extra seating for dinner parties.
I love it.
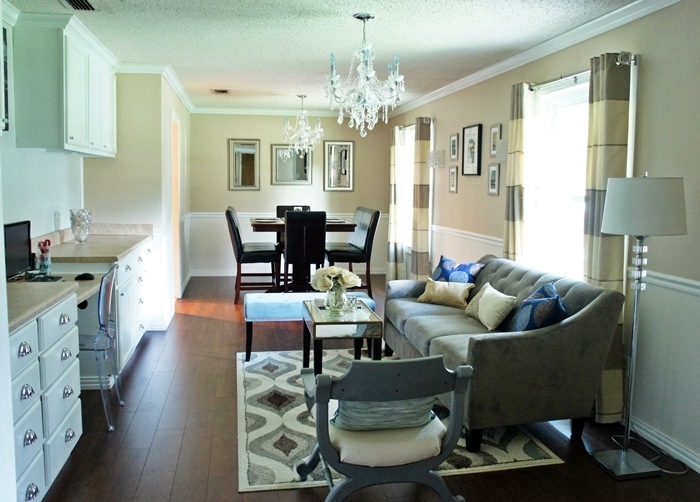
Now, I got most, if not all of the accessories on sale/clearance, so some may not be available anymore. If I did find it, it is linked in the source list below.
I know $3000 seems like a lot of money, but the bulk of that was the flooring ($600) and the Chloe sofa ($1000 delivered/with tax), and we had to buy some expensive tools ($250 compound miter saw) to get the job done, so if you take those out of the equation, it’s more like a $1300 makeover.
We did all the work ourselves, except that my BFF’s hubby helped with installing the 2nd chandelier since we didn’t have a light source there previously and he helped a ton with the crown moulding. The chandeliers have blue bulbs in them, and I know it seems odd, but they are actually Reveal bulbs which give off bright white light rather than the harsh yellow light that some chandelier bulbs give.
This is a room I am always proud to show off when folks come over, and I love lounging around watching episodes of Big Love on my tufted couch. And I get to write on these pages to all of you in style.
It is so me.
In. Love.
Other things I am planning on doing include adding more photos/art to the bare walls in the dining area, applying a stencil pattern to my gray accent wall, and adding those moulding rectangles below the chair rail. Oh and adding that TV, for sure.
Source List:
Paint color (main walls): Sahara Desert Sand by Glidden at Walmart
Paint color (accent wall): Morning Fog by Sherwin Williams
Cabinet color: Bright white in SPRED paint by Glidden, primed using Kilz oil based primer
Trim Color: High gloss bright white paint by Glidden at Walmart
Flooring: Krono-Swiss handscraped laminate flooring in dark cherry.
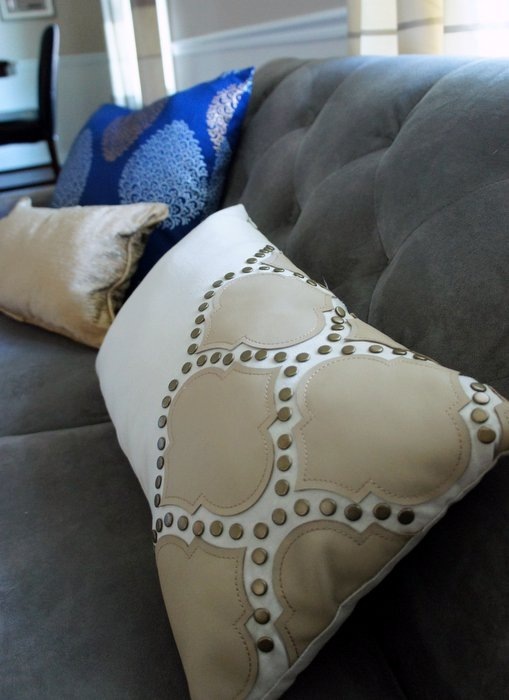
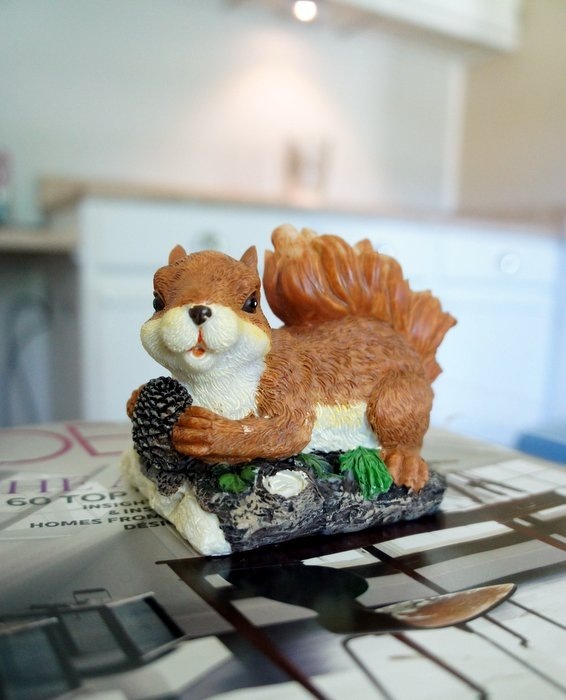
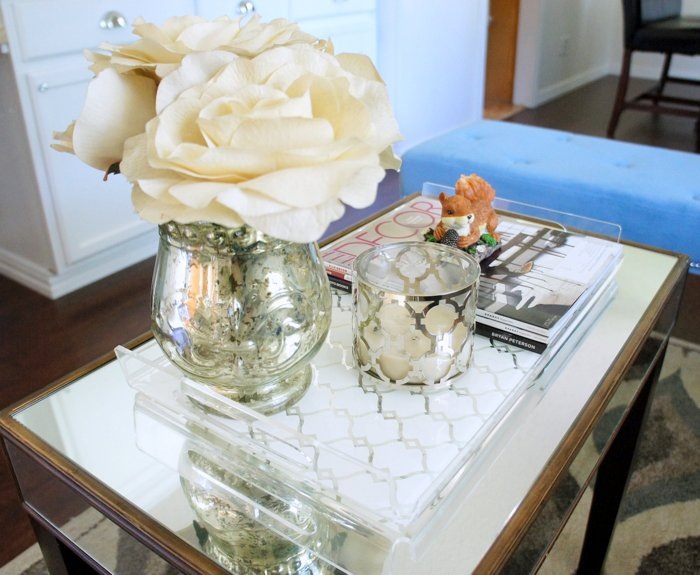
Sofa, Chloe sofa from Macy’s; floor lamp, Marshall’s; Rug, Overstock; Bench, Marshall’s; Ghost Chair, Overstock; Chandelier Art Print above desk, Ross; Curtains, World Market; Plates, JCPenney; Chargers, Walmart, Table linens, Target; Mirrors, Kirkland’s; Sconces, Ross; Blue Pillows, West Elm; Gold Pillow, Cushion Source; Beige Pillow, Target; Peacock Pillow, Marshall’s; Hardware, eBay; Picture Frames, Dollar Tree; Wedding Photo Frame, Target; Mercury Glass Vase, Marshall’s; Quatrefoil tray, Target; Squirrel, Walgreens; Chandeliers, Home Depot; Countertops, McCoy’s, but they also carry them at Lowe’s; Under cabinet lighting, Lowe’s.
Feel free to leave me any questions, etc. in the comments section!
Posted by Monica Benavidez in budget, decor, dining room, DIY, entertaining, house, how to, inspiration, lifestyle, living room, look for less, luxe for less, office, party, photography, thrifting, tutorial with 0 comments